12/11/14 Edit: I realized after posting this that I forgot to mention the reason I was dyeing the fabric in the first place! And many of you may not have known that I was planning to...
 |
| make it blue! |
Because Merryweather is my hero.
Actually, I just wanted a blue wedding dress because white is boring. And I wanted it to match my ring.
On to the story:
Warning: This is a long and technical post with many pictures of fabric in a washing machine.
I finally dyed my fabric! I was so nervous, I kept putting it off... But I had to bite the bullet eventually. Last Monday night I finally took the plunge.
...Back in October! I had ordered several fabric swatches online, looking for just the right weight and feel. I wanted silk, for the luster and the drape. I also knew that silk takes dye very well, and I knew that dyeing was the best way to get the exact color that I wanted.
Once I had compiled all my swatches, I tested them with a diluted dye bath of RIT Aquamarine.


Four of my silks were from Dharma Trading. I cut my swatches in distinct patterns so I could match them back up with their labels after dyeing:

The other samples were from etsy sellers, and one quilt store.
 |
| The bottom left sample, which was dyed twice, is the fabric I ended up ordering. |
 |
| The Etsy seller, The Fabric Depot, sold me their entire stock of silk satin. So no more, guys. Sorry. :( But they do have other fabrics, and excellent customer service! |

Then I washed it all with Woolite.

And hung it over the shower curtain to dry. This was folded into quarters:

All that to prepare for last Monday! First I had to trick my washing machine into filling more than halfway. Brian-the-fiancé's idea was to use weights, which sort of worked.

And I assembled all of my tools and supplies:
 |
| Vinegar, RIT dye, rubber gloves, and previously-dyed test swatch |
I pre-soaked the fabric so it would take the dye evenly, then set it aside in a laundry basket lined with an old shower curtain. I also soaked 2 1/2 yards of 90" wide cotton muslin that will be used as the lining for my train. The cotton soaked up so much water, and had to be wrung out, but with the silk the water just slid right off as I pulled it out of the tub! Which is good, because it would be way too heavy otherwise.

I wasn't happy with the amount of water in the machine, so I had Brian fill up some pots of water to supplement it.

Had to get a shot of him helping, too:

After I was happy with the water level, I added about a cup of vinegar and a slosh* of dye.
*technical term
 |
| This is more or less what I remember the color being when I did my dye tests. |

It came out too light, so I dyed it again with better results. Then I took a deep breath and started loading my silk. I did this slowly, working from one end of the long yardage to the other, and pushing the fabric down under the water with my gloved hand to let the air escape. Then I added the cotton on top.

After kneading and stirring the fabric around in the dye for about 10 or 15 minutes, I couldn't help but notice that the silk was looking distinctly... green.

I also noticed that the water pretty much looked clear now, so I surmised that it was very likely that all the of the dye had already been absorbed into the fabric.

So I closed the lid and let the washer finish its cycle, and took my fabric out after the spin cycle. I again hung the silk over the shower curtain rod (over a towel so it wouldn't get a hideous crease at the top) and let it dry overnight. I tossed the cotton in the dryer, however.
I was rather discouraged by two things. One, the silk definitely looked green, while the cotton still looked pretty much white:

Two, the end I had added to the dye first definitely soaked up more color than the other end:
So guess what I did on Tuesday!
 |
| More dye! |

Then I put the silk in from the other end first (after pre-soaking it once again). I stirred and kneaded the fabric for about ten minutes again, then pushed all the cloth down to the bottom of the tub.

Midway through the wash cycle I checked on it, and all the fabric had floated up to the top of the water level. I pushed it down again and let it continue. Here's how it looked after the spin dry:

I was very happy with the color this time! I tossed the cotton into the dryer again. But upon closer inspection, I wasn't thrilled with the evenness of color in the silk, so I put it through a wash cycle with Woolite to see if that would help.

If it had any effect, I couldn't tell. Oh well. I put it back up to dry one last time.
 |
| But it definitely looks blue now! |

This went much faster using my favorite industrial gravity-fed steam iron and the large ironing table than it would have done at home using my own rather whimpy iron and standard-sized ironing board.
 |
| I love this thing. |
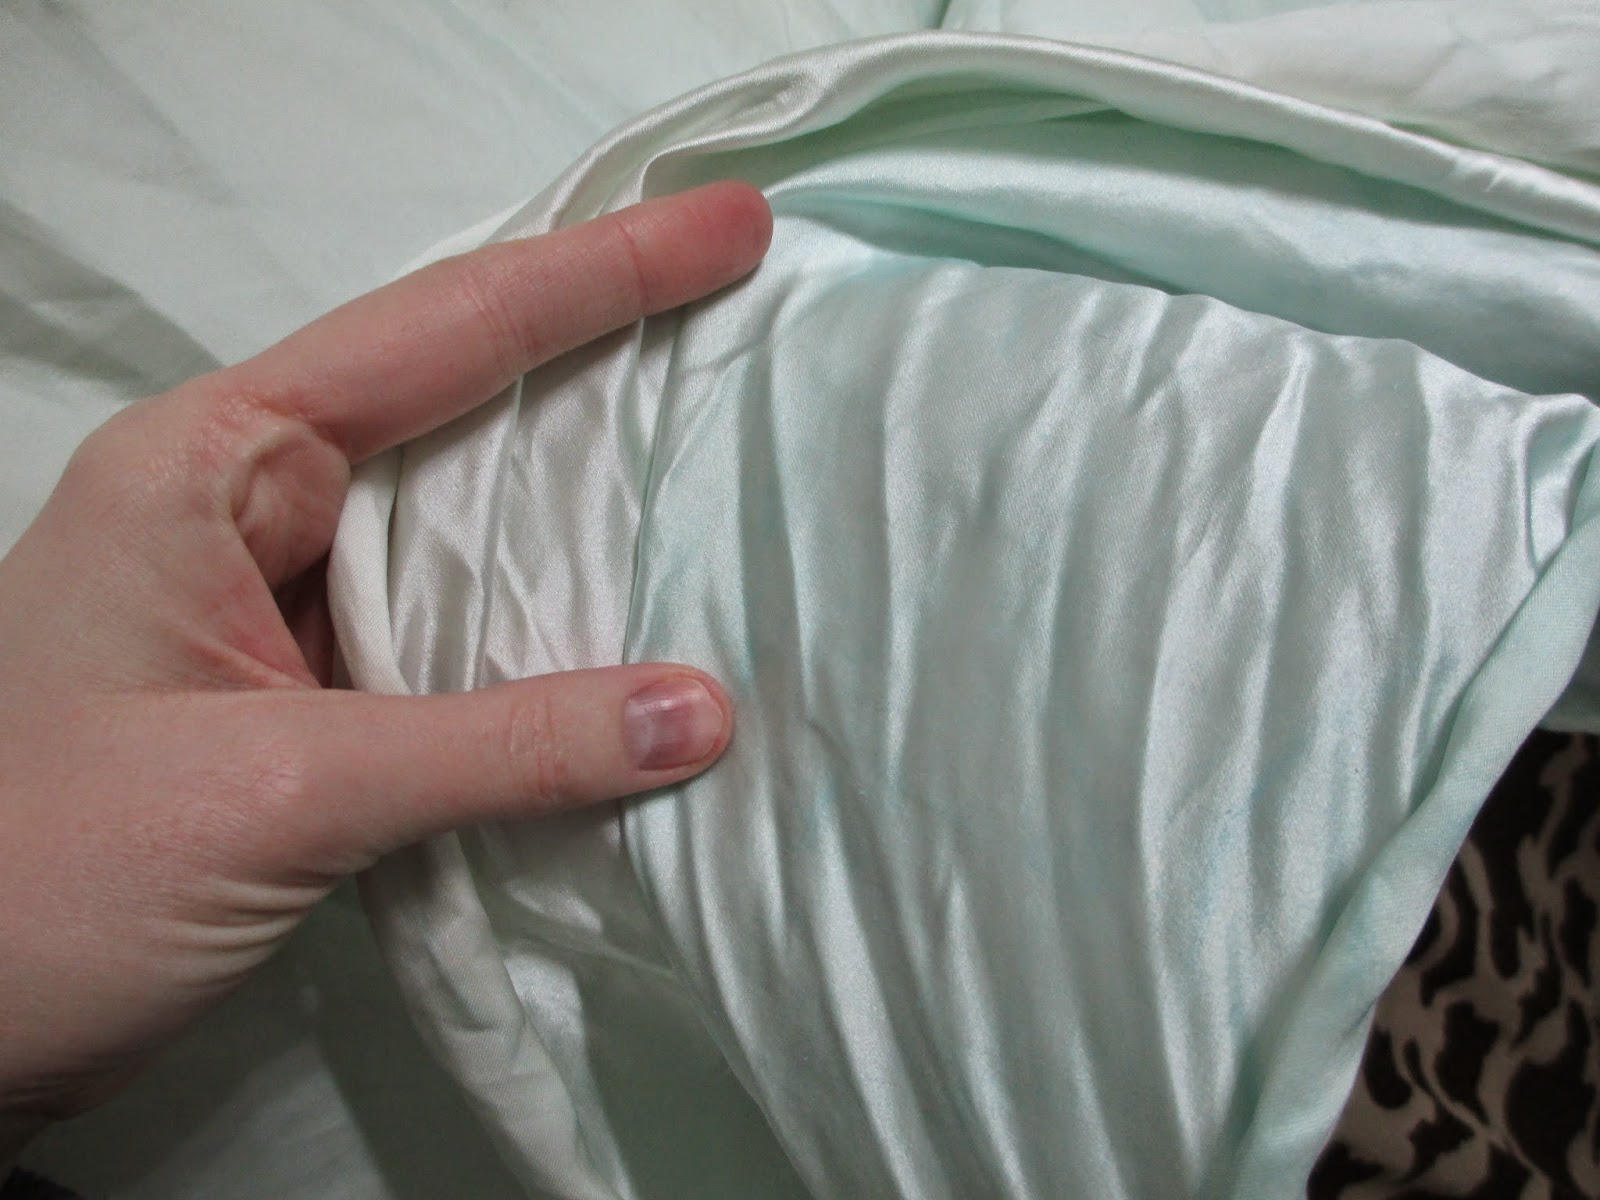
There are definitely still irregularities in the color of the silk, but fortunately they are more noticeable from the back side of the cloth.

I used a cardboard tube to roll up the pressed fabric as I went. I made use of the fact that the long crease from being folded on the bolt soaked up more dye and created a rather pronounced line down the center of the fabric. It helped me keep it straight and even as I rolled. Silver linings!
 |
| And you can see it is less visible on the satin side (on the roll). |

And in spite of all my stressing, I am quite pleased with the overall result. Now it's time to take the mockup apart and cut out the dress proper!