 |
| I wore an over-bodice and detachable sleeves over the basic dress. |
I started with a simple princess seamed A-line gown, cutting out the pieces from an old sheet - one of my favorite sources for mockup fabric. I sewed up the pieces, tried it on, and made minor adjustments to fit. Then I pulled the shoulder straps down over the tops of my shoulders, and pinned in the excess as darts on the front and back. Using the new angle of the shoulder straps, I traced the tops of the Side Front and Center Back pieces onto heavy-duty paper, marking the requisite notches so I would be able to match them up again with the full pattern pieces.
 |
| I also added to the seam allowance of the center back. |
I cut out a new mockup from a different old sheet, using the new off-the-shoulder pattern pieces and making this one about ten inches shorter at the hem. The fit was perfect this time, so the new mockup became the lining of the Renaissance gown. I used the new pattern to cut out my ivory satin, and gave the dress a lace-up back.


I let Brian see me in the Renaissance gown because although my wedding gown will use the same pattern, it's going to look totally different! I plan to build a base in the same manner, then drape the design onto it on the dress form.
I let Brian see me in the Renaissance gown because although my wedding gown will use the same pattern, it's going to look totally different! I plan to build a base in the same manner, then drape the design onto it on the dress form.
So far I have cut out and constructed the lining of my wedding gown! I used approximately 2 yards of 90" wide white cotton muslin, which I had previously washed and ironed.

I also cut additional pieces of the Center Front and Side Front patterns from the waist up, as my gown will close with a wrap front instead of a back zipper.
I stitched all the pieces together and tried it on my dress form over my corset (more on that later) and folded the extra shoulder straps over diagonally to make the wrap front neckline:


The lining was a bit too big and loose.

I pinned in the excess on the side seams and the center back:


After stitching along the pin lines, I cut away the extra shoulder straps at the angle I had folded down earlier. I lined them both up to make sure I cut away the same amount on both sides.

I also cut off excess on the bottom of the front inside piece at an opposite angle. The short, unattached side will attach to the inside of the finished gown to keep it securely closed.

Now here it is on me!
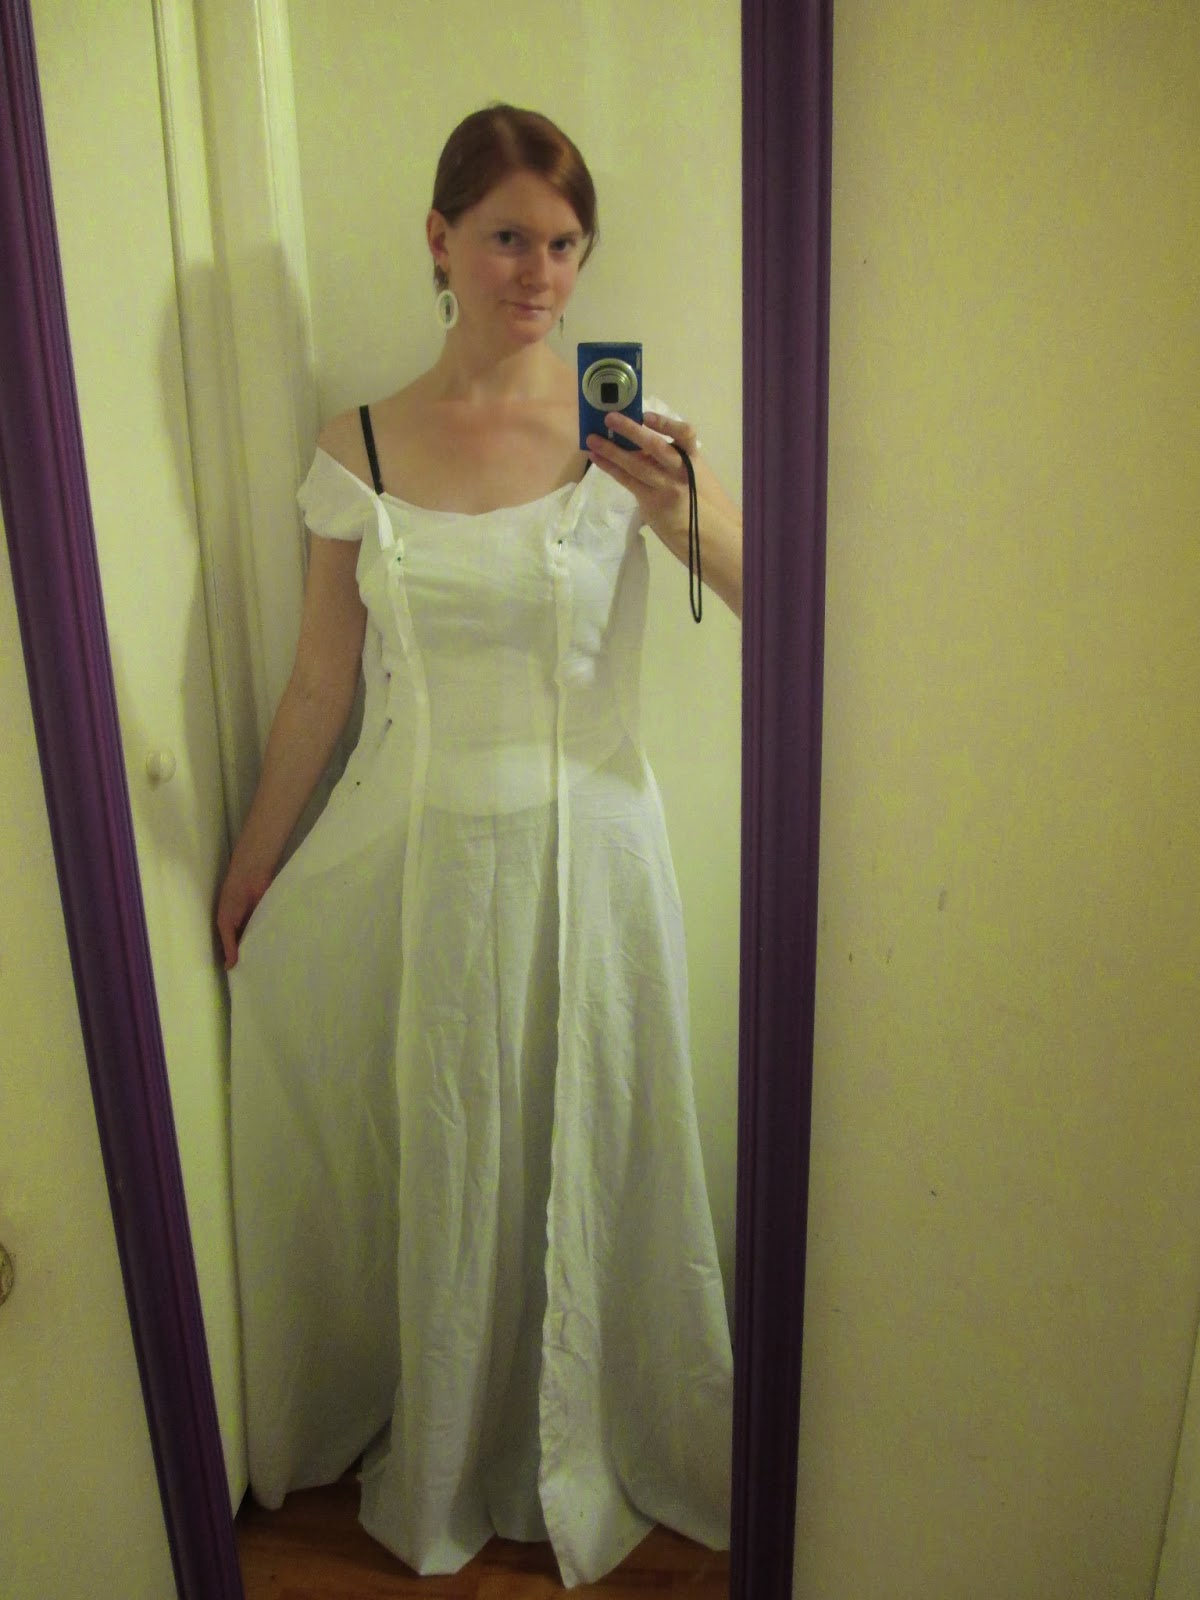
Awkward mirror selfies are always so fun. :p I need to adjust the shoulder straps, as they are a bit loose and keep falling down. I also need to try this on again over the corset, but I didn't have anyone to help me lace it. Fortunately, my measurements are the same with and without the corset, so I'm not worried about the fit. The purpose of the corset is comfort and ease of wear. And the fact that I hate strapless bras. :p
Now I just need to start draping! :D
I stitched all the pieces together and tried it on my dress form over my corset (more on that later) and folded the extra shoulder straps over diagonally to make the wrap front neckline:
I want the two sides of the front to intersect just above the top of my corset, so I made sure to leave enough for a 5/8" seam allowance.
 |
| I haven't added the binding to the corset yet. |
I pinned in the excess on the side seams and the center back:
 |
| I made sure not to catch the top front piece when I pinned in the left side. |
After stitching along the pin lines, I cut away the extra shoulder straps at the angle I had folded down earlier. I lined them both up to make sure I cut away the same amount on both sides.
I also cut off excess on the bottom of the front inside piece at an opposite angle. The short, unattached side will attach to the inside of the finished gown to keep it securely closed.
Now here it is on me!
Awkward mirror selfies are always so fun. :p I need to adjust the shoulder straps, as they are a bit loose and keep falling down. I also need to try this on again over the corset, but I didn't have anyone to help me lace it. Fortunately, my measurements are the same with and without the corset, so I'm not worried about the fit. The purpose of the corset is comfort and ease of wear. And the fact that I hate strapless bras. :p
Now I just need to start draping! :D
No comments:
Post a Comment